Наши проекты:
3D печать и услуги :
Wiki :
Сувениры :
Walkarounds :
ВНИМАНИЕ: Сайт пока работает в тестовом режиме после переезда! Что-то может работать не так как ожидается, проверяем...
Please give me a bit more time. I've already finished both wings and I'm currently working on wing struts and upper wing assembly. Once it's done I'll post the pictures of whole process.
МаратН - Earlier we agreed to use English because it is easy to translate with Mozilla or Chrome translator.
МаратН - Мы договорились, прежде чем использовать английский язык, потому что это легко перевести с Mozilla или Chrome переводчик.
Hi kochegar
Thank you for posting the pictures. I don't understand - what do you mean by smoke? If you mean the engine - then I can tell you it's going to be totally open. Спасибо за размещение фотографий. Я не понимаю, - что вы подразумеваете под дым? Если вы имеете в виду двигатель - тогда я могу сказать вам, что это будет полностью открытым.
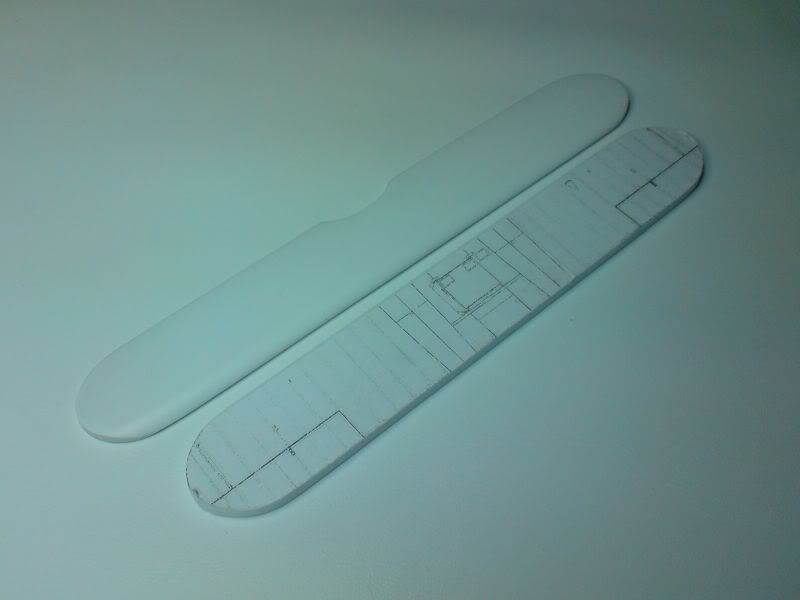
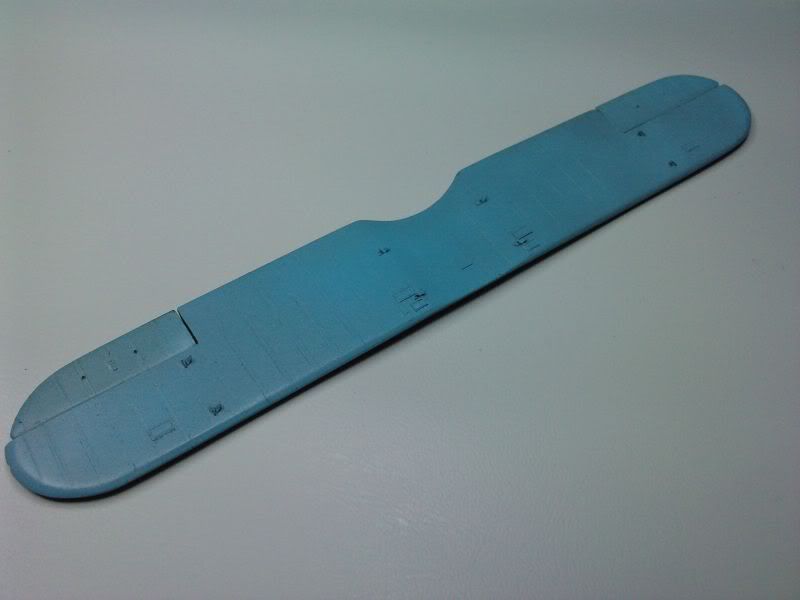
The wings are now fixed and rigged so I can show you how it went together. First I printed the wings outlines on adhesive paper and bandsaw the pieces out of 5mm polystyrene sheet.
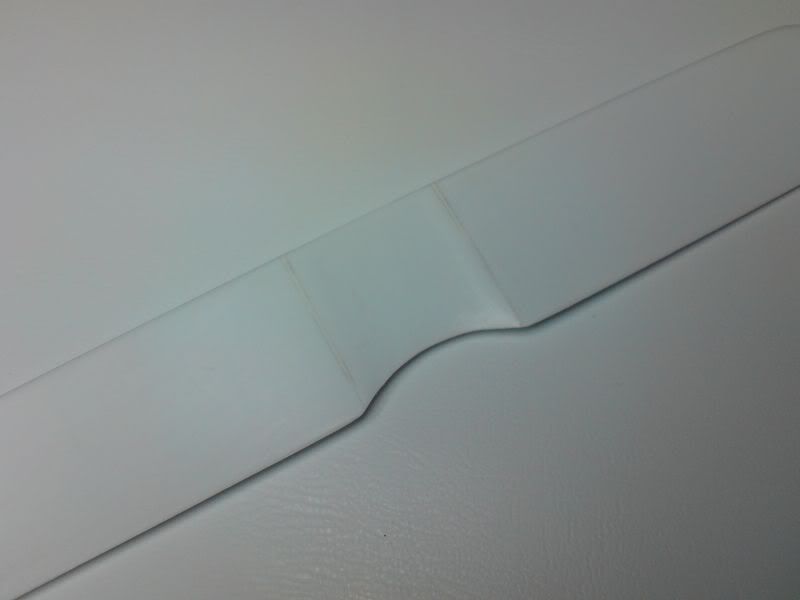
Then I shaped the wings profile and gave the proper angle to the upper wing by cutting groves and inserting polystyrene wedges.
Next I could work on imitation of strengthening tapes. I did it by engraving lines and painting over with few layers of flat black.
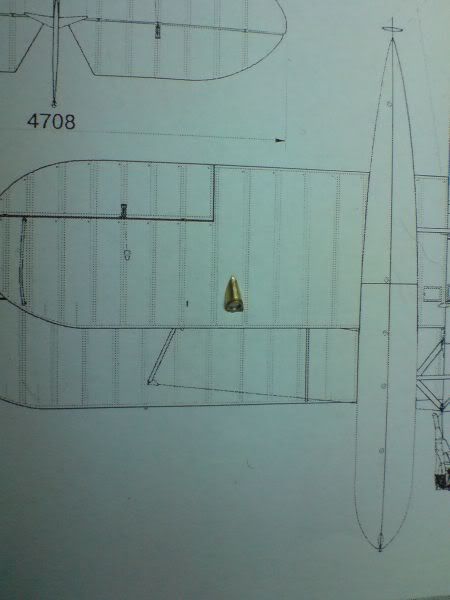
I also had to modify the landing lamp. The one provided in PART PE fret gives wrong angle, so I replaced it with a piece of aluminum sheet trimmed to proper shape.
_____Bad:____________Good:_____
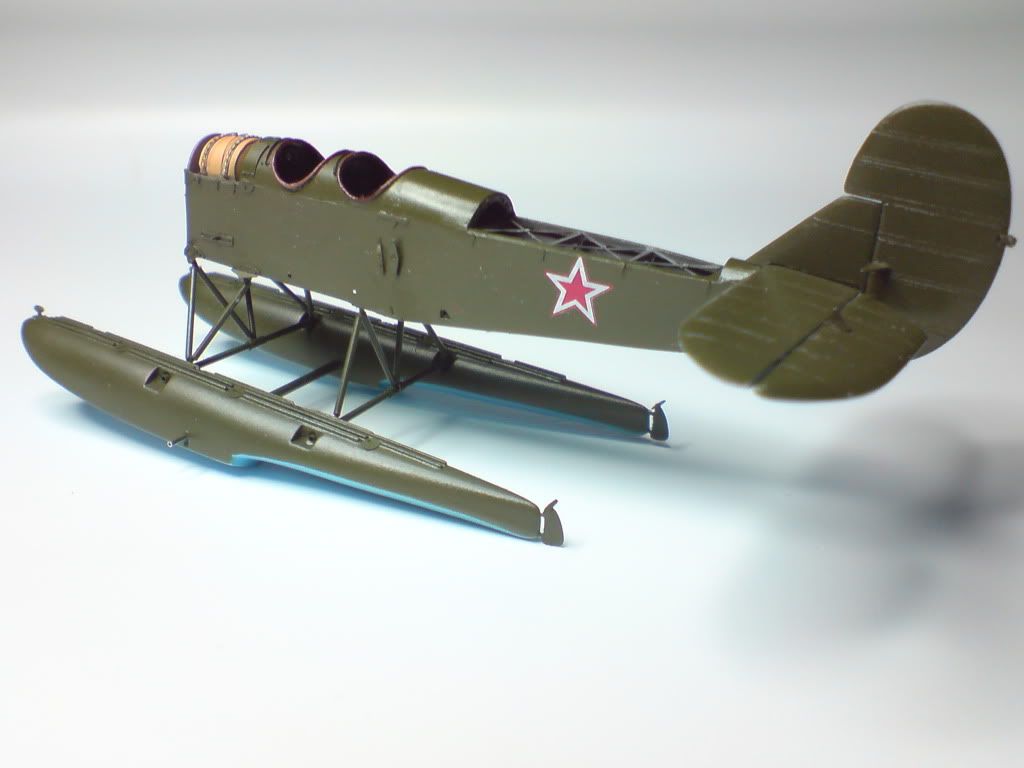
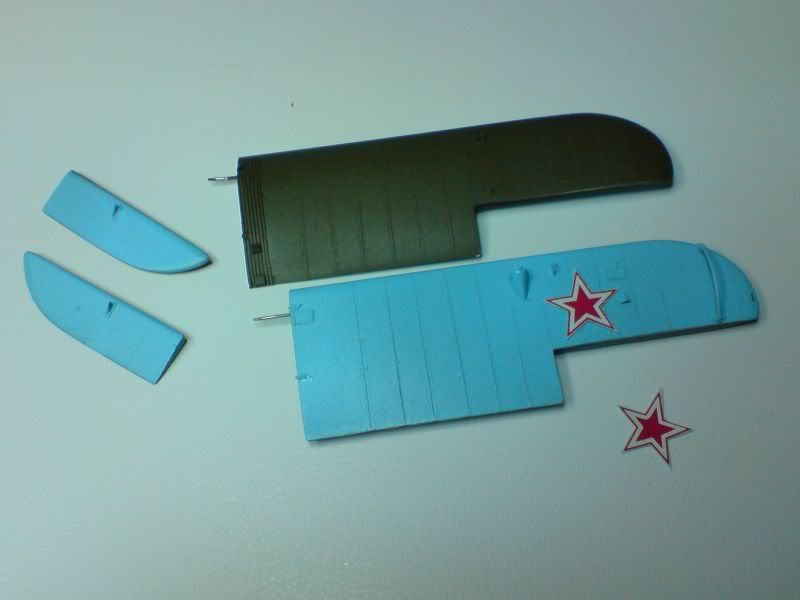
Then I could paint the wings and apply the decals.
Finally I assembled and rigged the wings.
Could you please advise where I could buy the Neomega/Vector M-11 resin engine?
The PART PE bits are OK, but there are only the cylinders, and I would have to scratchbuild the whole engine body. I'm affraid that I could spoil the model with my scratchbuilt engine. I can't postpone the build of engine anymore and wonder to take a shortcut by buying a Neomega M-11 engine and combining it with PE parts and some scratchbuilt pieces.
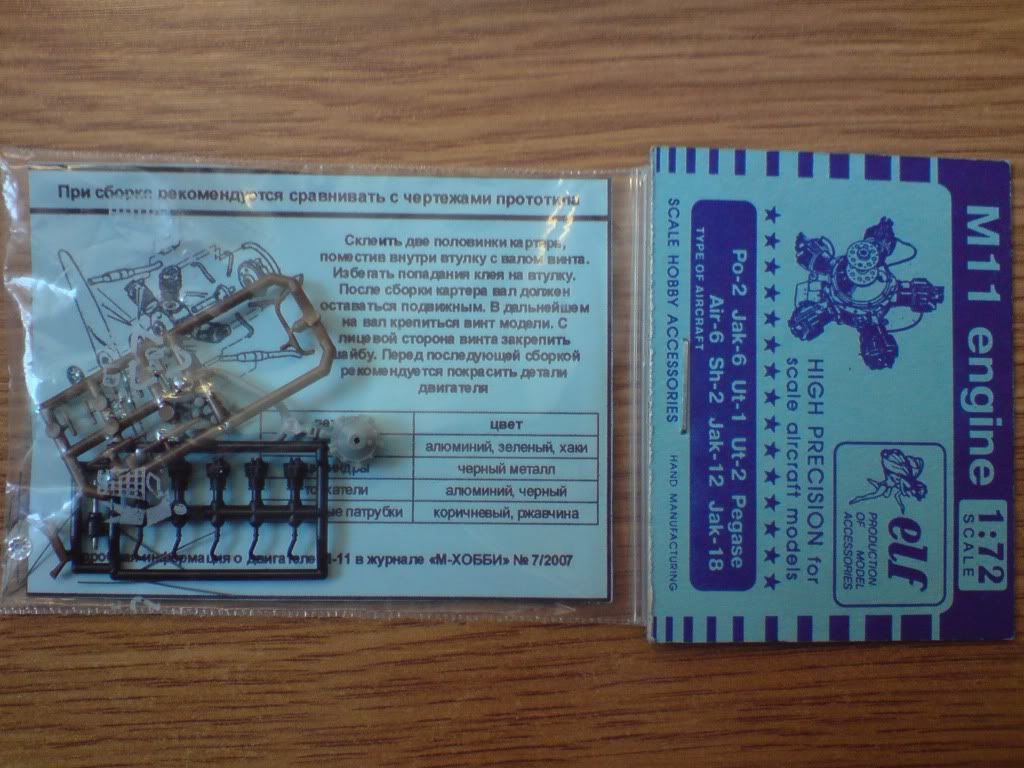
I haven't heard of Elf or Prop&Jet engines. Could you please give me links to their M-11 engines?
Unfortunately the model crashed when I took it to show it to my colleagues. I was so depressed to see the upper wing dangling on the rigging that I had to take few days off. Preparing wheels with correct tread pattern and separate hubs for 1/48 PBY Catalina calmed my nerves. So beginning of this week I started rebuilding the U-2. I’ve got the wing attached again and now I’m working on the rigging. Soon I will proceed with further construction.
P.S. My next project will be Catalina cutaway with most of the panels removed revealing the complete interior (a project for next few years I suppose ).
Hi Peter.
Oh ...censored...
So sorry but do not despair. My model has been broken too. "Show must go on..." Your work is very very excellent.
Good luck!!!
Thank you EXPrompt for the reminder. I think a month will be enough to finish the engine
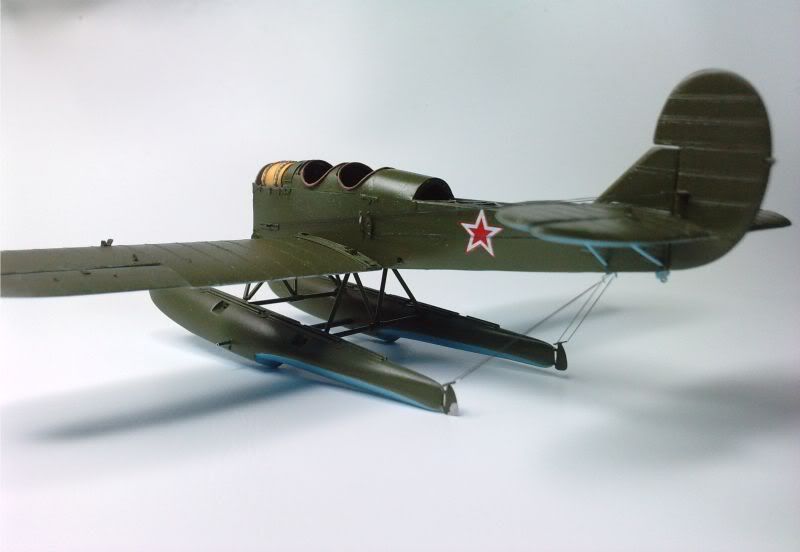
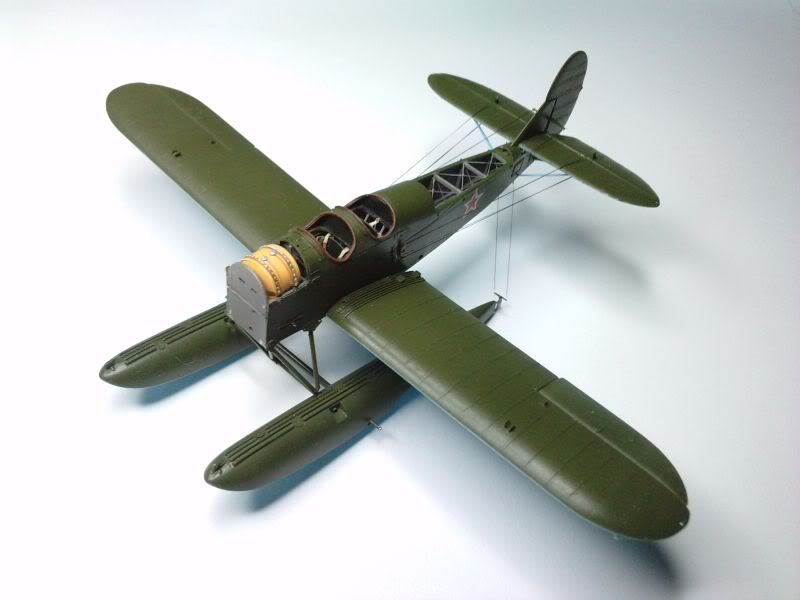
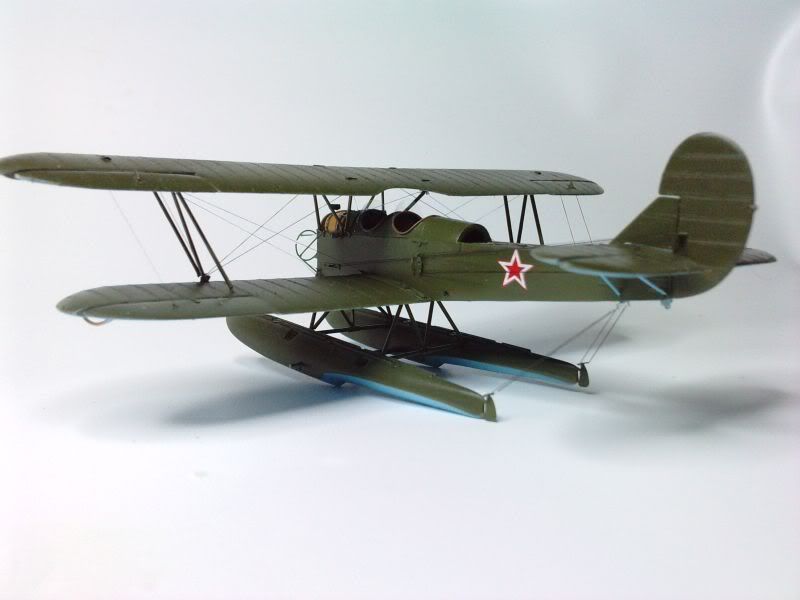
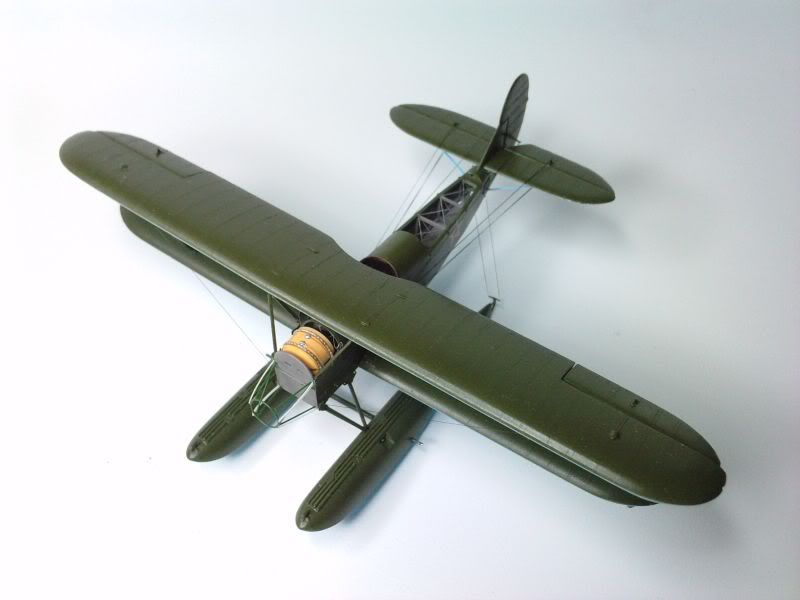
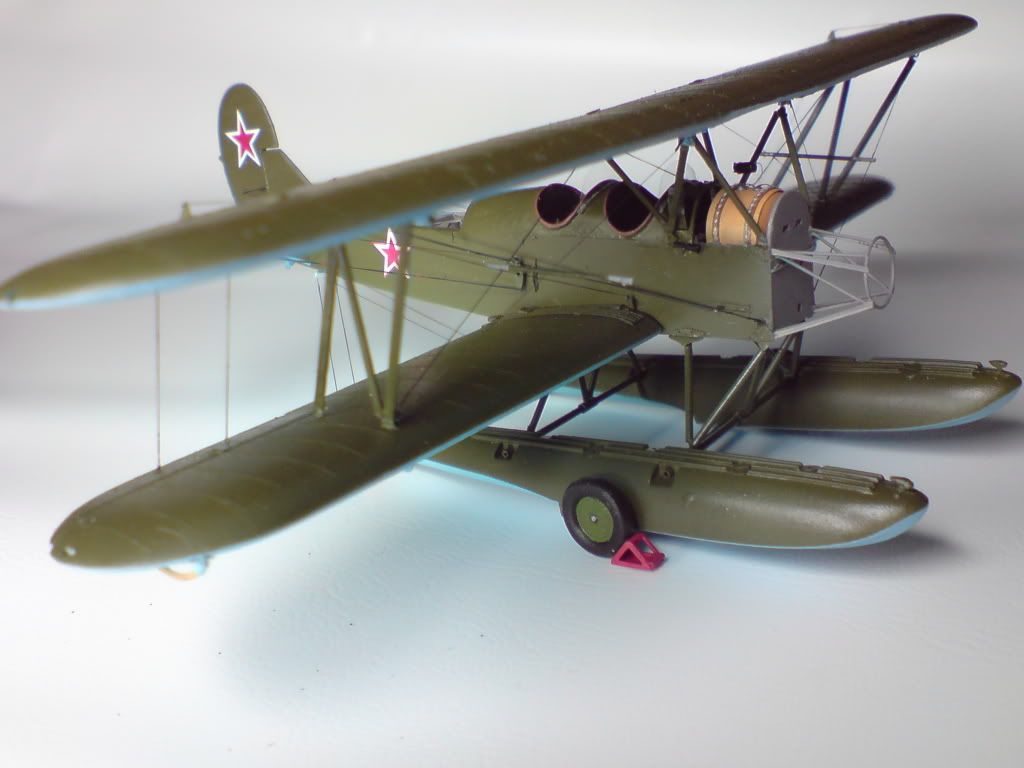
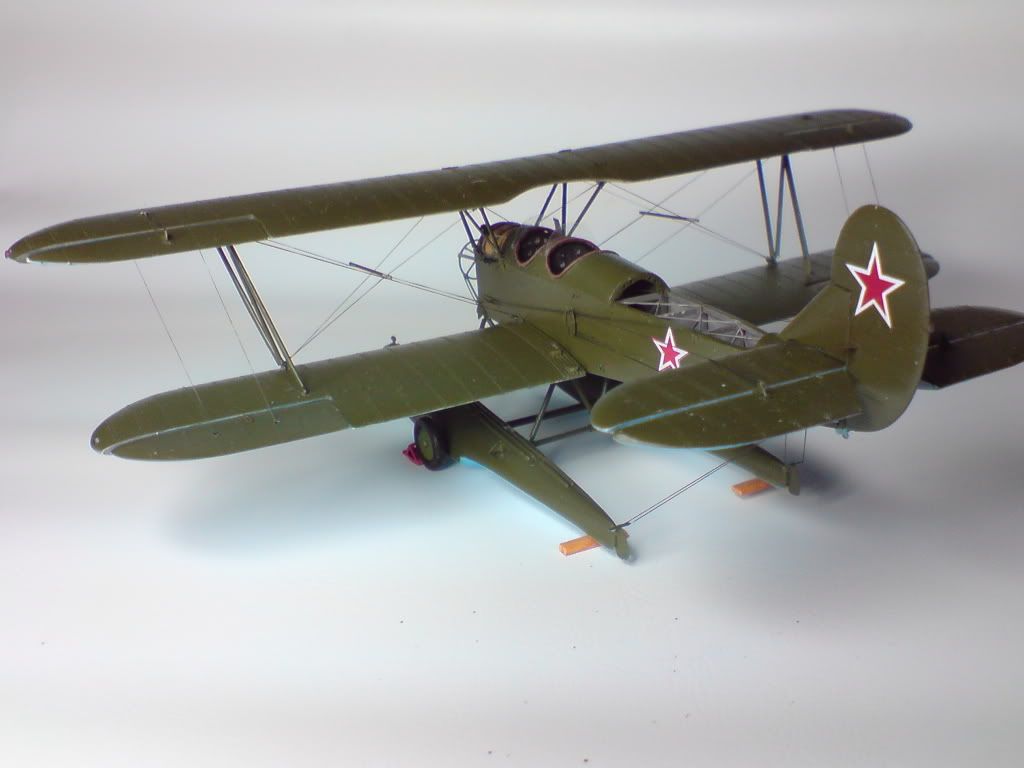
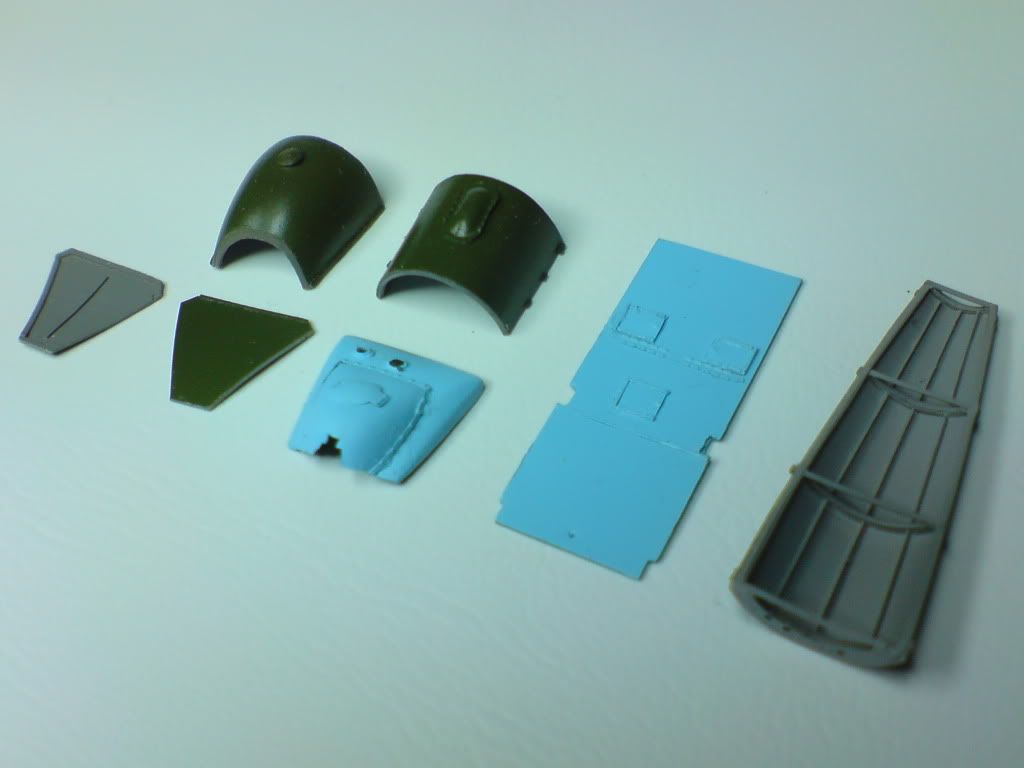
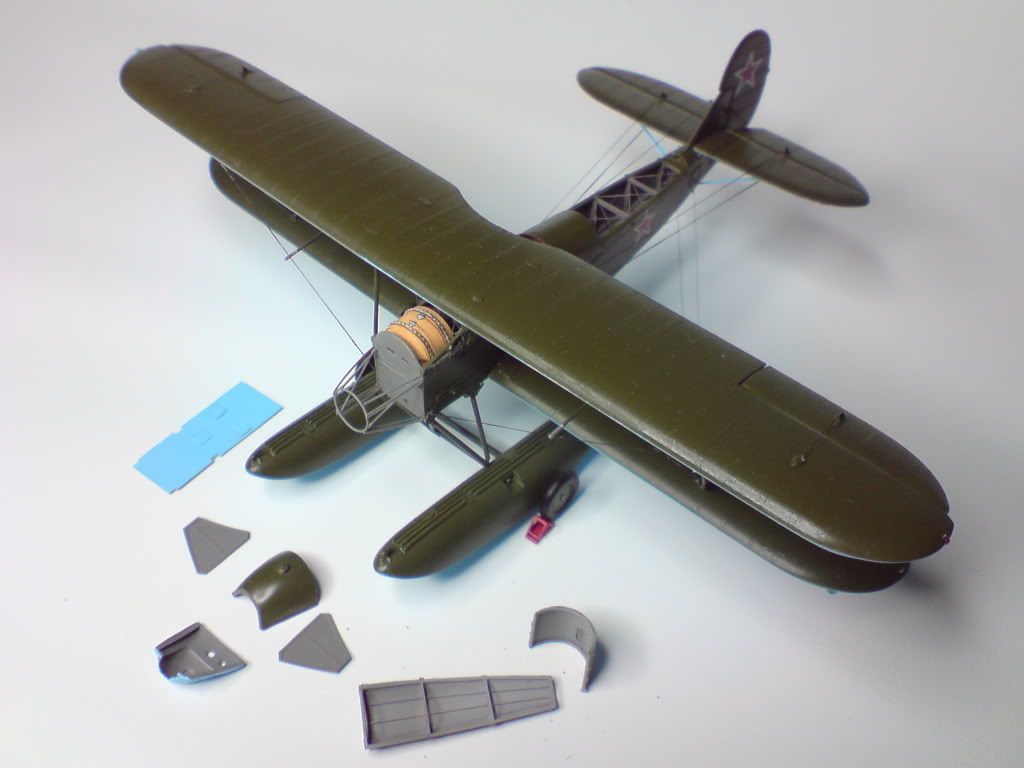
I managed to fix the U-2. I had to make the rigging all over again and added some little details like beeching gear wheels with wedges and sidelights. I also added the rudder star decal (long awaited from TECHMOD decals) and finally finished the engine covers.
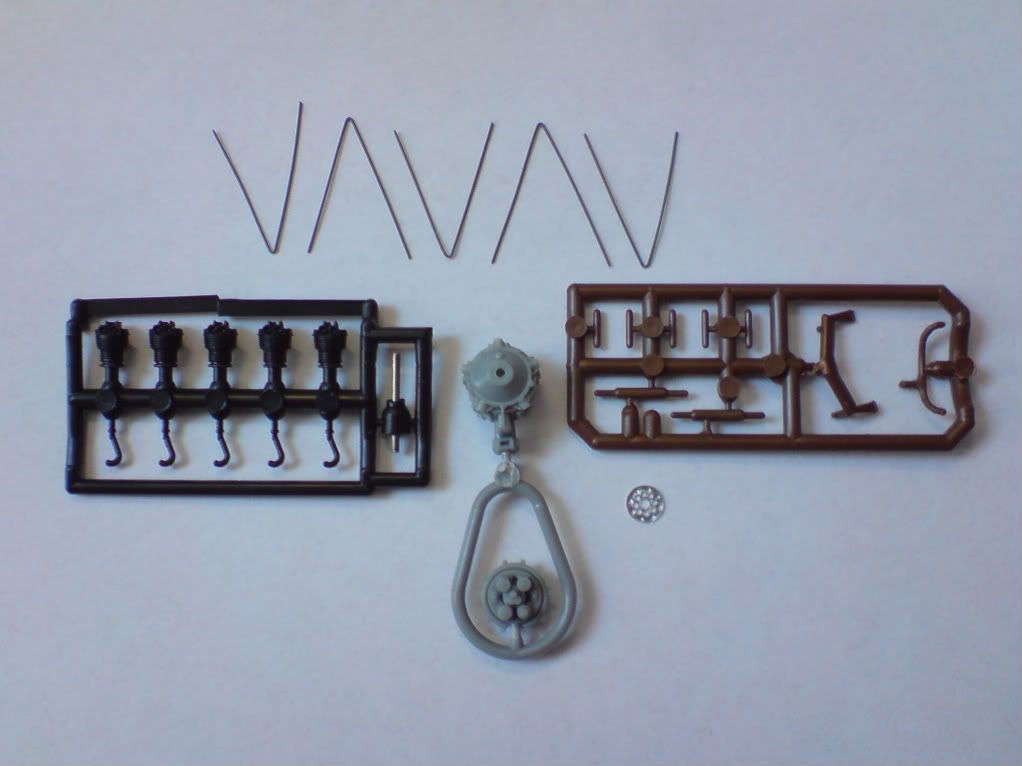
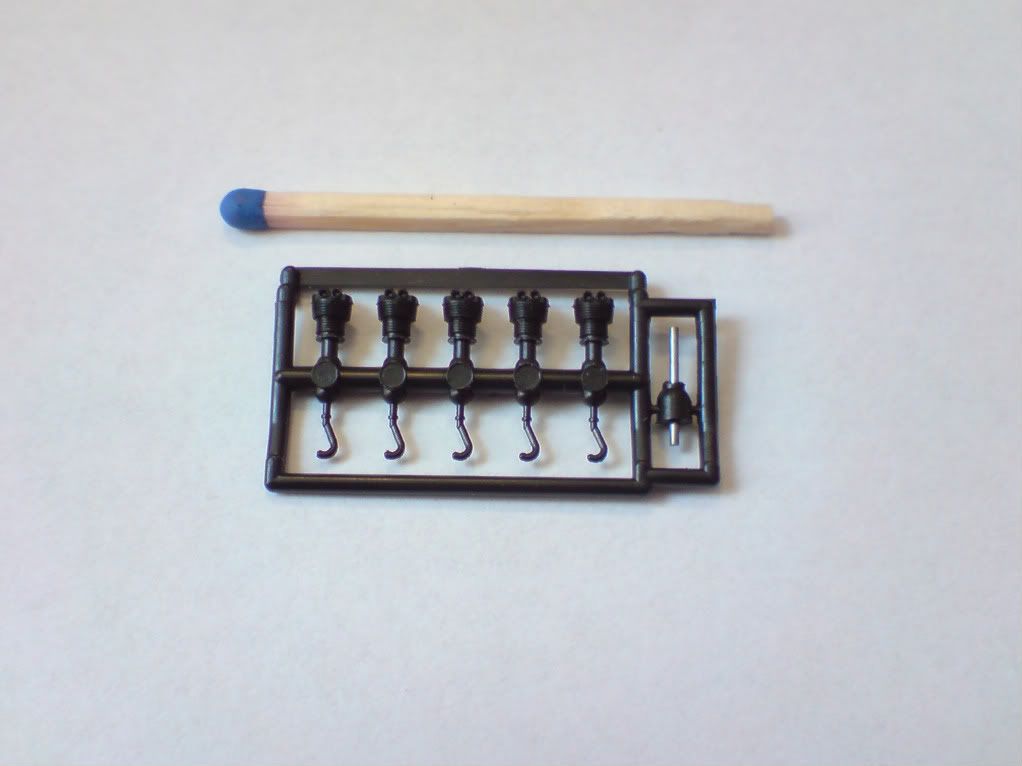
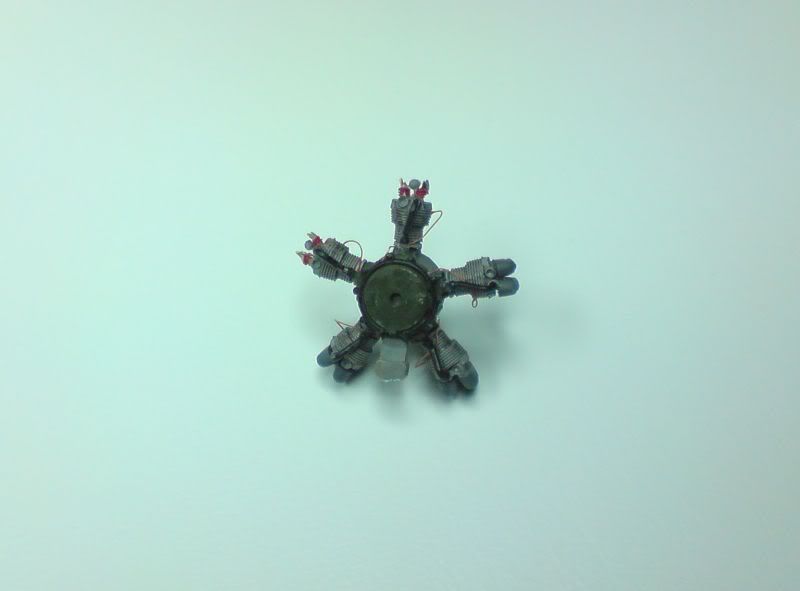
Recently I started to assemble the PART celinders:
Mr Загоруйко Віктор sold me the excelent ELF engine:
Now I see that PART cylinders are oversized in order to fit the kit engine body. It means I will not use them in my model. Fortunately the ELF engine cylinders are very well moulded. I would never expect such quality from extruded plastic accessory. The only things I will have to scratchbuild are the exhaust pipes and the back of the engine (but I planned to do that anyway).
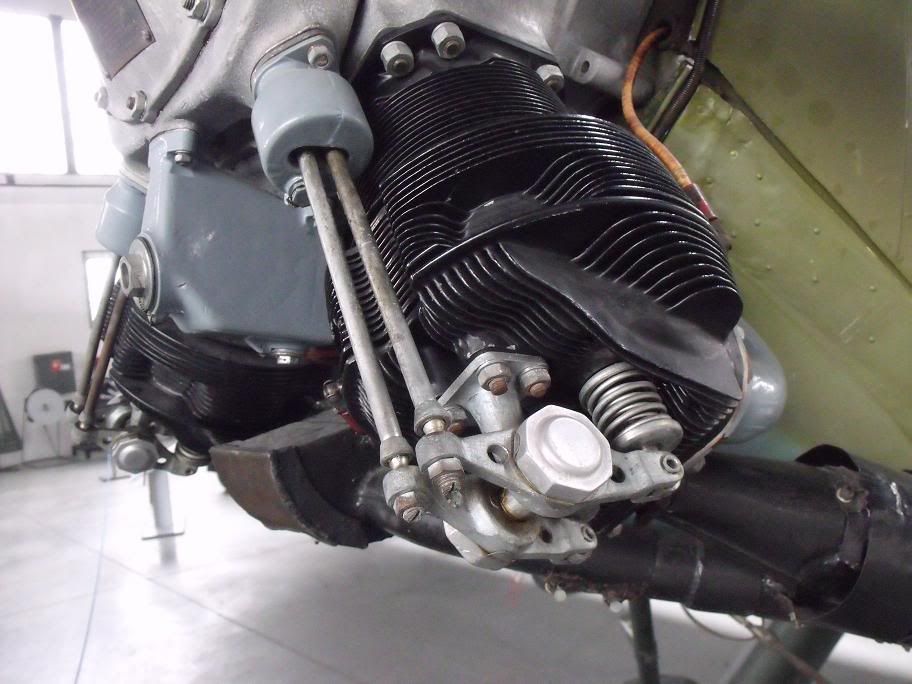
Additionally I've noticed that engine of the floatplane differes a bit from the standard PO-2 engine. The pushrods and valves are totally covered to protect these parts from water splashes. I thought it would be great to make at least two cylinders with these covers removed.
U-2:
PO-2:
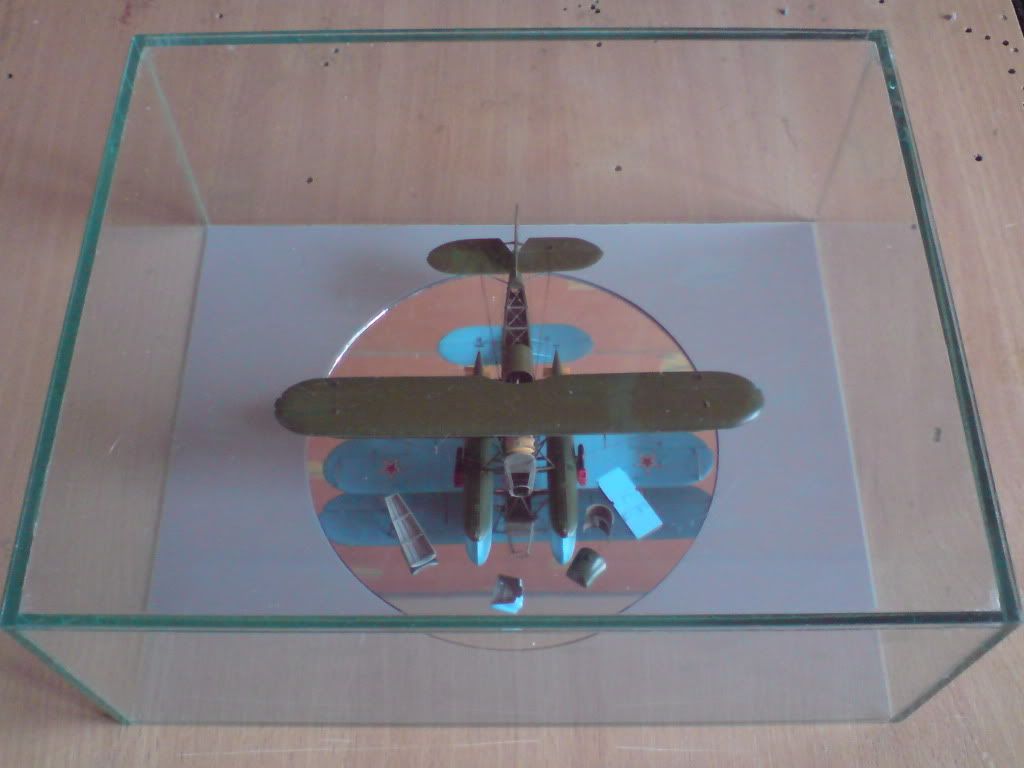
I have purchased a glass display case to protect my model. The mirror under the model allows to see the uncovered belly.
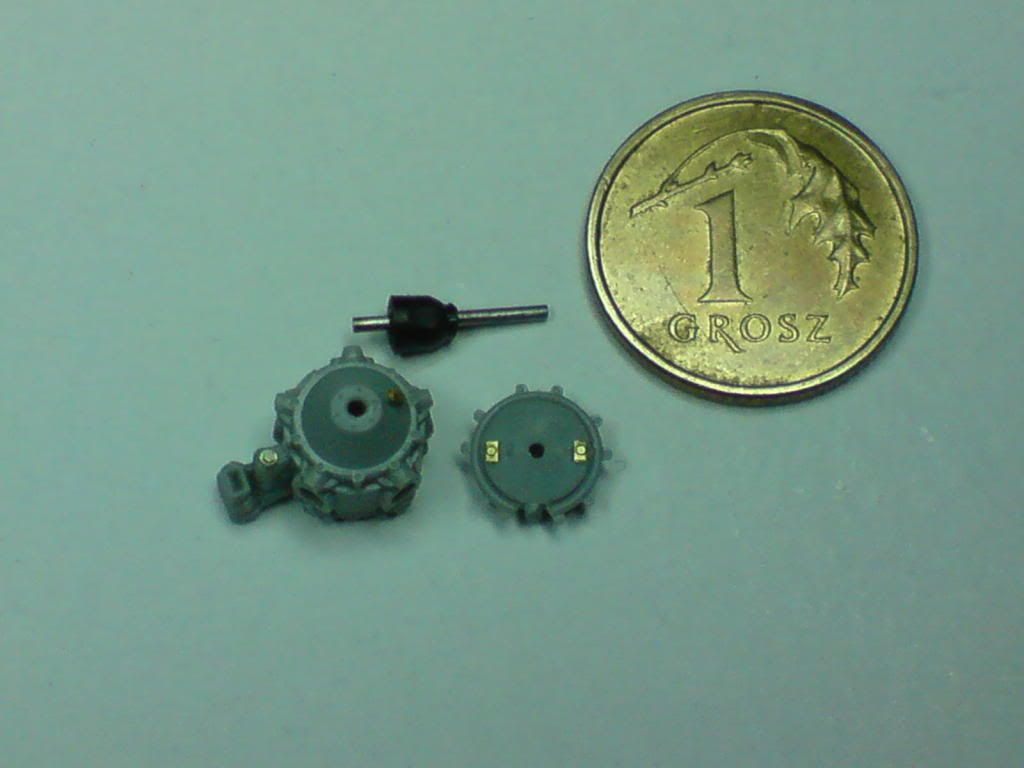
I started work on the engine. First I removed all the details moulded on the back of the engine body, and addend first details made of PE fret:
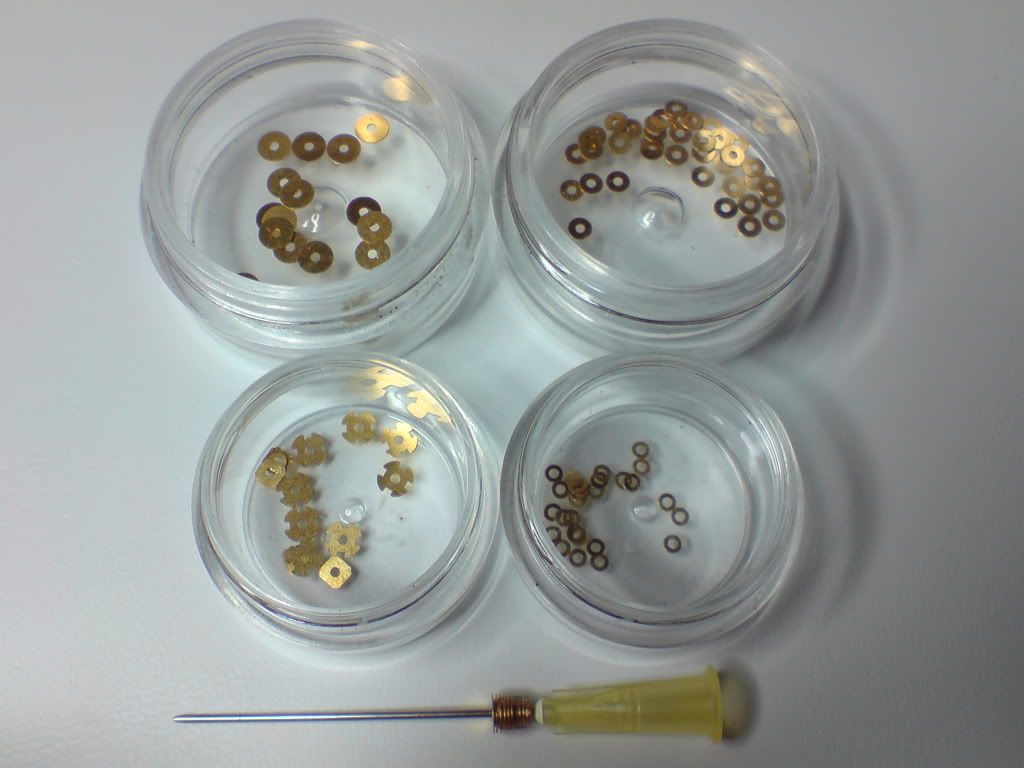
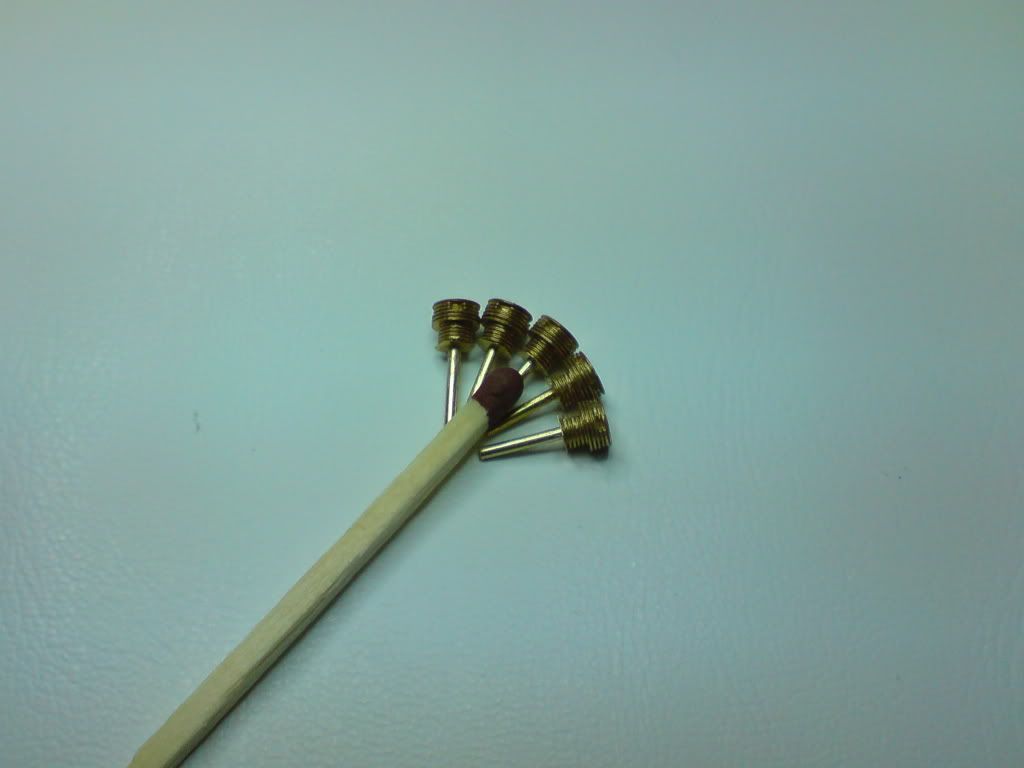
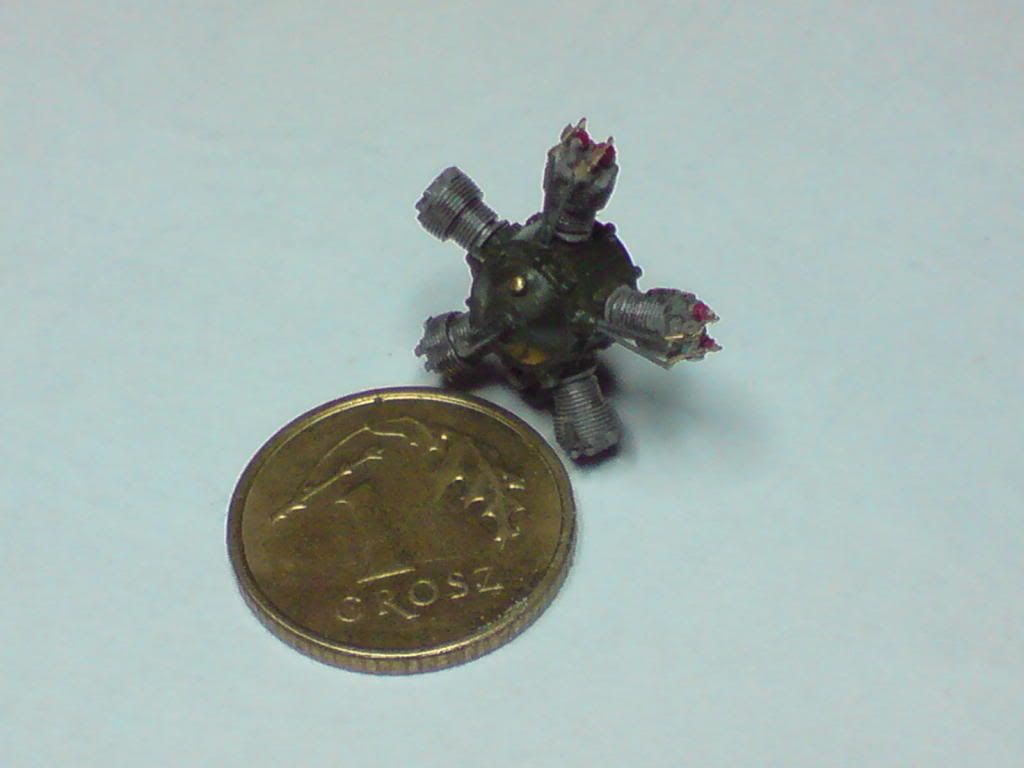
Next I put the engine into one piece. Playing with uncovered valves took some time but was worth the result. The PE nuts and bolt heads which I got from my friend were very helpful in detailing the valves and the engine body:
Using Milliput I formed the valve cover and then casted it in resin:
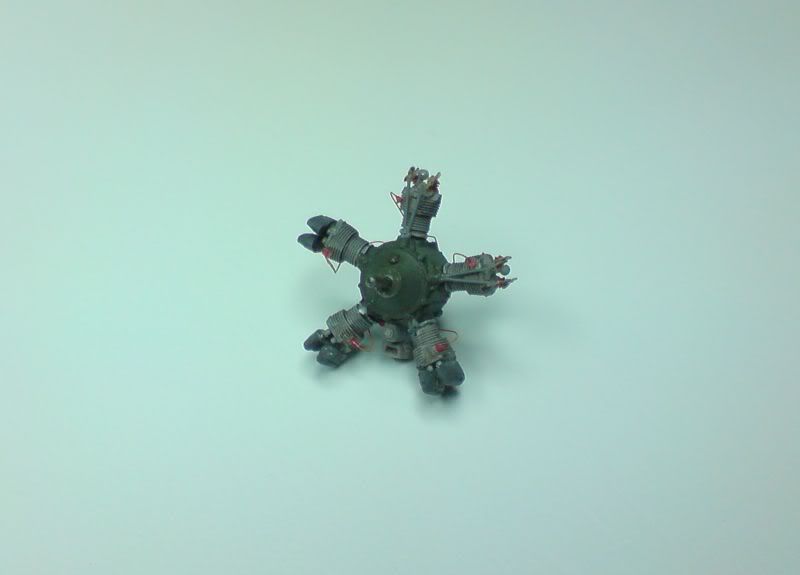
Finalny I addend some wires and tubes. Now I’m playing with pushrods’ covers. I think I’ll find the engine plate in my decal stock. Once the front of engine is ready I will fix it in it’s mounting and start detailing the back of it:
Вы не можете начинать темы Вы не можете отвечать на сообщения Вы не можете редактировать свои сообщения Вы не можете удалять свои сообщения Вы не можете голосовать в опросах Вы не можете вкладывать файлы Вы не можете скачивать файлы